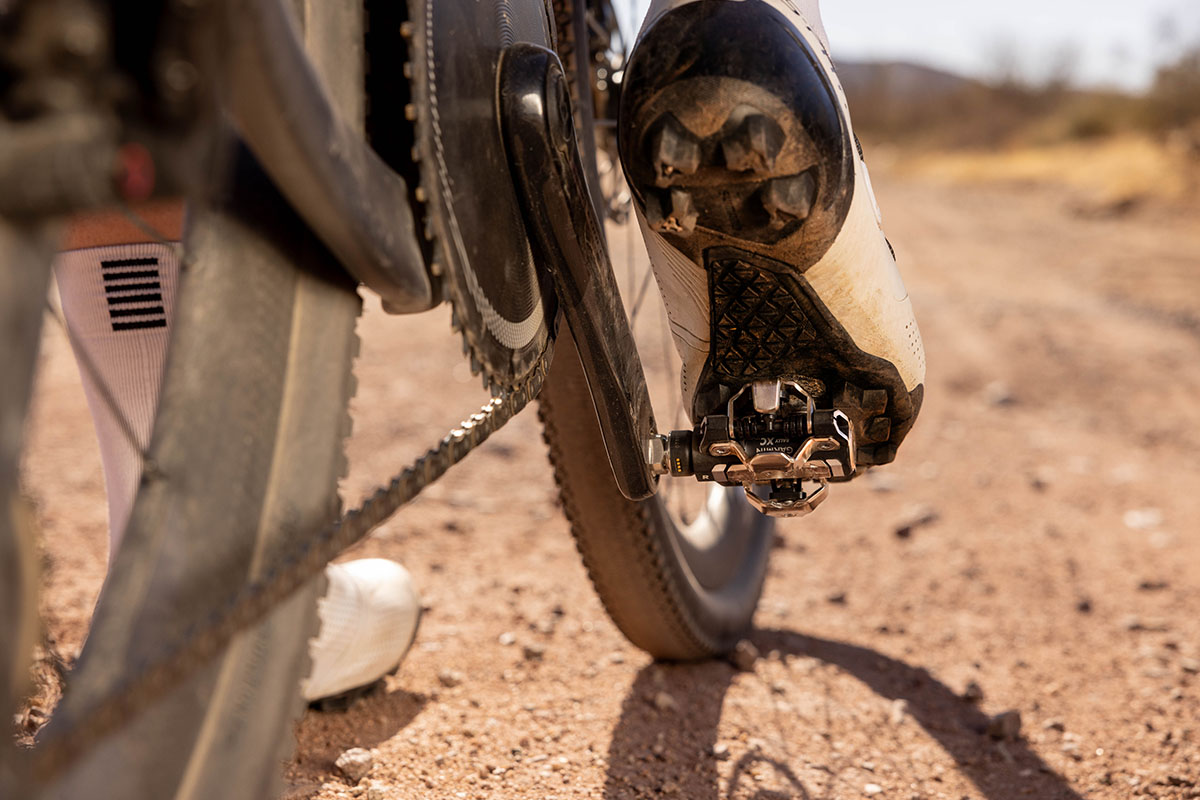
Power Your Ride with Vector Pedals
Please enjoy the guest blog written by Ryan Ross. Ryan Ross is a USA Triathlon Level 2 and Ironman Certified Triathlon Coach. He is the owner of Coast To Coast Triathlon located in Olathe, KS. Ryan spends his days helping triathlete of all ages and abilities reach for their greatest aspirations. You can learn more about Ryan at www.coasttocoasttriathlon.com.
You got your new Vector Pedals. BLING! Excited as a kid on Christmas morning you screw them onto your cranks arms, run the calibration test, and head out the garage for a 2 hour excursion on our favorite training route. For two hours you watch that power number jump all over the place like popcorn in a popper. Confusion starts to set in. You realize you don’t really know what that numbers means, but hey, all the cool guys are doing it! So it has to be good, right! Maybe? Hopefully?!
To make matters worse, you get home and feel vindication and clarity are coming when you upload the data to Garmin Connect. Your sure to get one of those ‘New Personal Record’ messages. Or maybe it is going to be something that says ‘Your headed for a PR and an age group win!!!’ Instead, you hit the upload button and see things like the following:
- Left/Right Split
- Pedal Smoothness
- Torque Effectiveness
- Platform Center Offset
Not to mention you see LOTS of numbers. Platform center offset?! You are now convinced that power training is the cycling version of the tax code.
So lets relax and take a step back. In this blog, I am going to greatly simplify all that data you are attempting to decipher. I will tell you what the different variables are, how to interpret your scores, and most importantly how to improve them so that you become a more effective cyclist.

What is Key Power?
Simply defined, power is an expression of how hard you are pushing the pedals. If you want to dig just a bit deeper it is a calculation that is the product of:
Resistance x Pedaling Cadence
Resistance can be provided by various tings – a headwind, a hill, the roller on your indoor trainer, or the gear you have the bike in (or a combination of those things). Pedaling cadence is just that, pedaling cadence. As resistance and/or pedaling cadence increase, power goes up. As they go down, power goes down. And of course there are lots of combination of those two variables that can be at play.
The expression for power is watts. Just like it takes a certain number of watts to turn on a vacuum cleaner, it takes a certain amount of watts to ride a bike 20mph.
We train effectively to get more powerful! And many of the pedaling efficiency variables that you see in Garmin Connect can help your pedaling efficiency which in turn affects your ability to produce power on the bike. Lets go back to the vacuum analogy. The motor on the vacuum may be in great condition, but if the belt is torn, the bag is full, or there is a short in the power cable, the benefit of that great motor will never be felt. That is where the pedaling variables come into play. Lets go through the variables now.
Left/Right Balance %. This value tells you what % of the total power being produced comes from each leg. It is typically thought that values inside 48/62 are very acceptable. If numbers are outside of this range, lets say 45% left and 55% right, their becomes some curiosity as to why. Often times the problems are at the muscular or structural level. Is their an injury reducing the effectiveness of one side? Was their a broken bone in the past on the left side causing some bio mechanical weakness? Is the weakness caused by current ergonomics? Lots of questions to go through if outside of the 48/52 range. Another is bike fit. Has bike fit been addressed, and if so, did the fitter know about the imbalance? It is important to note that even if a underlying cause is difficult to find, performance limitations are likely to very minimal from a left/right split that is a little bit out of balance.
Pedal Smoothness. Pedal smoothness measures how smoothly power is delivered to the pedal throughout the entire revolution. A value of 100% means that the power is generated evenly throughout the pedal stroke. Human beings can not score 100%, only a machine turning the crank arms can measure 100%. Values of 10–40% are common.
Torque Effectiveness. This measures how much of the power delivered to the pedal is actually pushing the bike forward. The typical score is going to be 60-100, and it is scored separately for each leg. The vast majority of pedaling torque happens from about 1:00 to 5:00 on the pedaling circle. This is just after your foot comes over the top of the pedal stroke and forcefully pushes down on the pedal. While this is happening, the opposite leg should be passively pulling up on the pedal on the opposite side. The foot does not pull hard or tug on the pedal while on the bike side of the pedal stroke. It is an ‘unweighting’ or gentle pull of the pedal. If the opposite leg is not pedaling in this manner it can create resistance against the opposite leg that is attempting to push forcefully from 1:00 to 5:00. Scores below 60-100 range represents a lack or torque, possibly caused by the unweighting of the opposite leg on the back side of the pedal stroke.
Platform Center Offset. This is one I really like. Platform Center Offset shows where peak forces are on the pedal platform itself, relative to the pedal center. Often times athletes are mounting their own pedal cleats to their shoes. As simple as it may seem, this is best left to an expert bike fitter. By sharing with a bike fitter this information, they can adjust cleat position so that you are applying the most power through the center of the pedal. Solving problems with foot discomfort such as ‘hot spots’ can also be taken care of by looking at the Platform Center Offset. Any numbers to the negative or positive on each pedal (looked at independently) represent a cleat position that could need adjusted.
As a coach, I want to leave you with the four things I emphasize to my athletes that coincide with the information you are going to receive from your new Vector pedals.
- What kind of strength or structural imbalances are present in the body? Why do they exist? Along with your pedaling variables a strength assessment is warranted as well. Performance can be improved and injury risk reduced by working through these types of issues.
- Do single leg pedaling drills. At a minimum these should be performed once a week, 2-3 times preferably. Any of the pedaling variables can be improved by doing single leg pedaling drills. This drill will improve pedaling mechanics, leg coordination, and build strength independently. These should be done even if your pedaling variables are solid.
- Get your bike professionally fitted.
- Worry about watts! Don’t got overly consumed in what might seem as minor deficiencies in the pedaling variables. The bottom line is watts. If you are addressing items 1-3 above, you are doing everything you can to improve your pedaling mechanics and become a better cyclist!