How to Train with Power
As a cyclist, you can’t get around the fact that training and racing are increasingly focused on power. Therefore, it’s not surprising that power meters are popular: They provide accurate and instant data, allow you to create highly structured training sessions and get rid of the “junk miles.” Let’s dive a little bit deeper into training with power and how to get the most out of the best training tool you can use in the moment.
Advantage of training with power
Some of you might be familiar with training based on heart rate. For years this has been the standard of many training programs. But the biggest disadvantage is that your heart rate is quite variable. Temperature, stress, sleep, altitude, fatigue and caffeine can influence it — not to mention the delay between the moment your legs are screaming for oxygen and the moment your heart responds to it. Especially during short, intense interval sessions, this can be a hassle.
Training with power covers all these flaws and removes a lot of the guesswork too. Modern power meters provide instant metrics of your output and guarantee a highly accurate way of training. Simply put, it helps you to get the most out of your time and effort by ensuring you train and race in the correct energy zone. Plus, it is a very reliable way to track your improvements over time.
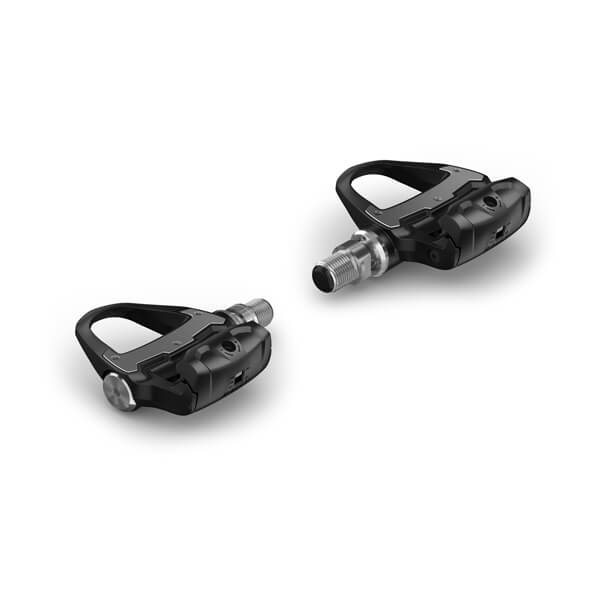
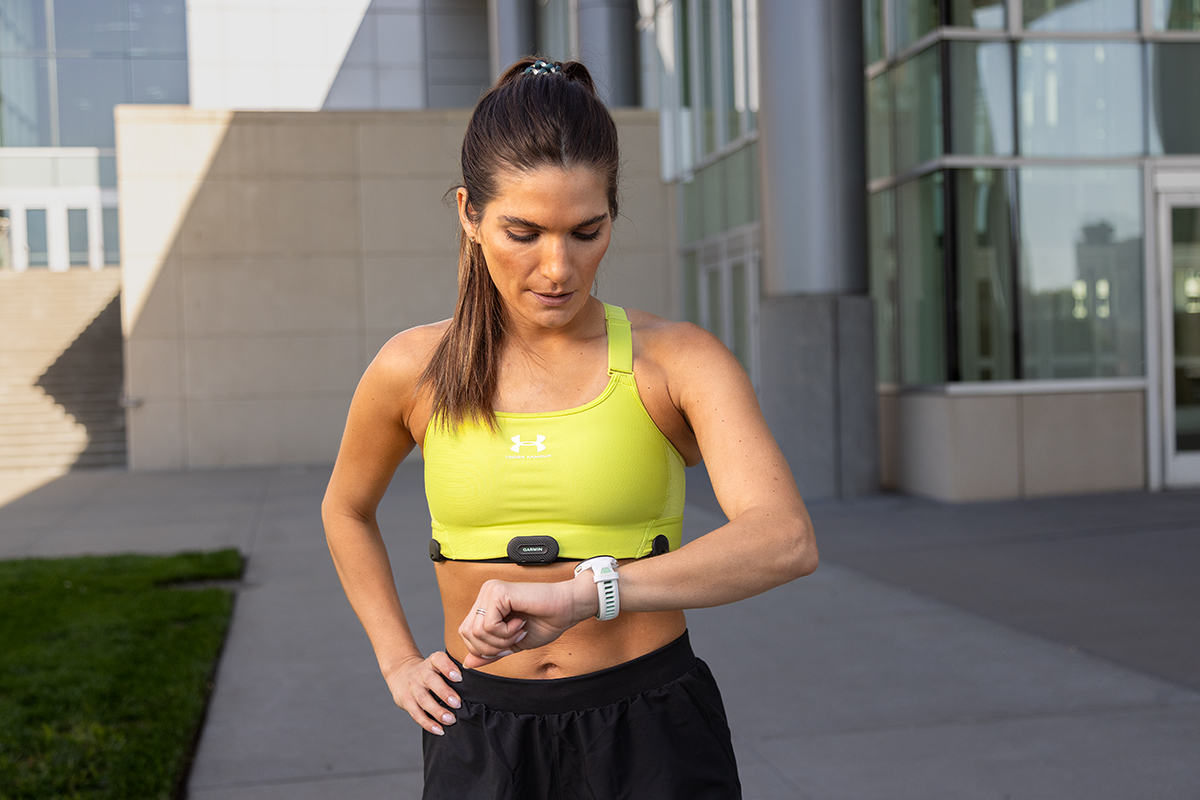
The new 200 series of Garmin Rally power meters do the job for you and are your perfect training companions to measure your power, cadence and advanced cycling dynamics. Because they are designed with sensors housed in the pedals, they deliver reliable and accurate data on every training session — whether you’re on the road or off it. By pairing them to your compatible head unit (sold separately) like an Edge® device, you have easy access to all your live metrics. With the Garmin Connect™ app, you can seamlessly upload your data to analyse it afterwards and check your progress.
Set up, calibrate and test
If you’re not used to training with power, it’s best to get familiar with it during a couple of rides. See what your output is during a sprint, climb, descent and cruising on a flat road to get an idea what numbers you can reach as well as sustain for various durations. Note that the power output during each pedal rotation may fluctuate and look a bit staccato. The reason is that you don’t push the same amount of pressure on the pedals during the whole rotation. To create a smoother and more accurate picture of your effort, you can choose to show the average power over a few seconds. This will stop the numbers from jumping around. Furthermore, it’s recommended to calibrate your power meter on a regular basis for the most accurate power readings from ride to ride.This can be done easily from your compatible head unit.
Before you dive into the power-driven training sessions, you first have to do some testing to get a broad range of power data. By doing this, you can measure not only the baseline of your current fitness level but also determine your training zones. There are many tests available, but the most common one is the 20-minute FTP test. You can use a Garmin GPS bike computer like the Edge® 1030 Plus to complete FTP, or Functional Threshold Power, which is the golden standard in cycling and gives an indication of how many watts you can sustain for one hour. This test is available on many training programs and head units. Fun fact: The more you train, the more your FTP will increase during the season. Measuring your progress has now become a piece of cake.
Training zones
Once you know your FTP, you can create the training zones based on it. There are several different variations, but the standard created in “Training and Racing with a Power Meter” is the most widely accepted. It creates seven separate zones, the so-called power zones, based on percentages of your FTP. Each zone has its specific purpose:
- Zone 1: Active recovery < 55% of FTP
- Zone 2: Endurance 56–75% of FTP
- Zone 3: Tempo 76–90% of FTP
- Zone 4: Lactate Threshold 95–105% FTP
- Zone 5: VO2 Max 106–120% FTP
- Zone 6: Anaerobic Capacity 121–150% FTP
- Zone 7: Neuromuscular Power or Sprint < 150% FTP
Now watt?
Now that you know your FTP and power zones, you can start a specific training program based on these zones. If you want to improve your endurance capacities or get the winter base miles in, then the main focus will be on zones 1 and 2. If you want to improve your average speed or train for a time trial, then zones 3 and 4 will be your go-to. The final zones will become your fierce friends if you want to work on your sprint. There are many training plans widely available, so select one that helps you reach your goal. You may also want to factor in other Garmin cycling features, including Training Status, Training Load Balance and Daily Suggested Workouts, to put your power data to full use as you train.
In addition to training, these power zones are very helpful as well for a sportive or race. The lower zones can be used for pacing and the higher zones for an attack or sprint. Each zone can only be sustained for a certain amount of time, so keep an eye on this to prevent yourself from blowing up and to make sure you pass the finish line.
Racing to your strength and training to your weakness, as the old saying goes, has never been easier with the help of power meters.