How to Customise Startup Screen on GPSMAP Chartplotters
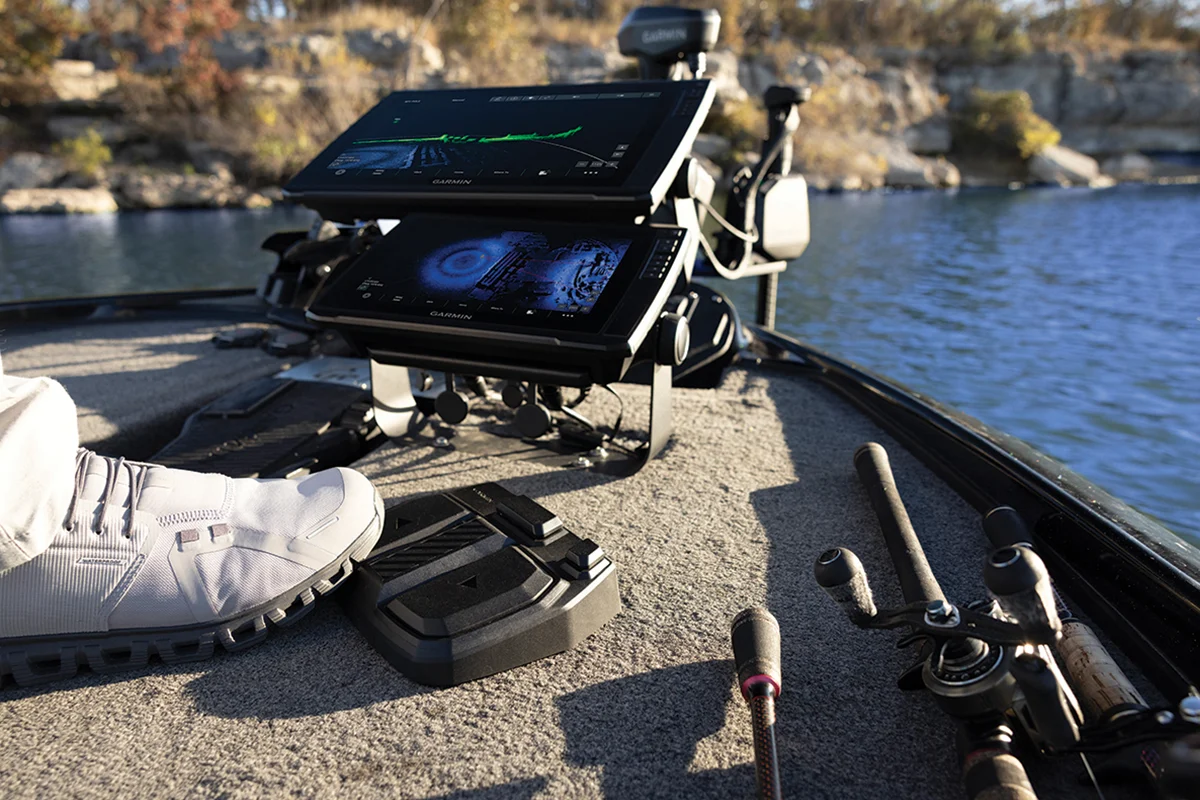
Besides pure elation, what’s the point of owning a boat if you can’t customise it? Now you can add a personal touch to how your Garmin chartplotters appear as you fire ‘em up to enjoy a day on the water by adding a custom startup screen. Whether it’s a photo of your family or one of your favourite catches, it’s sure to capture some attention.
Learn how to personalise your helm station by customising the startup splash screen on your compatible Garmin GPSMAP chartplotter. Simply follow the steps below:
Step 1
Put your image of choice on an SD card (use the guide below to find the correct image size), and place the card in your chartplotter’s card slot
Step 2
Go to Settings at the bottom of the screen
Step 3
Select System at top of menu
Step 4
Select Sounds and Display
Step 5
At bottom of screen select Startup Image
Step 6
Top of next screen – Select Image
Step 7
Select the memory card slot that your image is on. On the next screen, you will see the images on your card – just select the one you want to use
Step 8
Select Set as Startup Image above the photo
Step 9
Turn your chartplotter off and back on again. You should see your new startup splash screen right away!
To prevent the stretching of your image or auto-cropping, use the below guide to find the correct startup screen size for your compatible Garmin GPSMAP chartplotter. It is important to note that this feature is only available on GPSMAP 7×3, 9×3, 12×3,74xx/76xx, 80xx/82xx, 84xx/86xx, 7×2/9×2, 7×2/9×2 Plus, 10×2/12×2, 12×2 Plus and GMM 1×0 series chartplotters:
= (Width x Height)
7×2; 7407/7607 = 680×200
9×2; 10×2, 7408/7608 = 880×270
12×2; 7410/7610; 7412/7612 = 1080×350
7416/7616 = 1220×350
8×08 = 480×270
8×12/8×15; GMM 150 = 620×340
GMM 170/GMM 190 = 1100×430
8×22 = 1240×450
8×17/8×24 = 1700×650
Follow Garmin Marine on Facebook and Instagram to keep up with the latest news from our pros, sneak peeks at the newest products and all things coastal fishing, boating and sailing.